
Do you have any helpful tips that you like to use to help you with aperture? Let us know in the comments!
– Hazel
Infographic © 2015 Hazel Arroyo
Photography and Writing Blog
Category: Photo Tips
Do you have any helpful tips that you like to use to help you with aperture? Let us know in the comments!
– Hazel
Infographic © 2015 Hazel Arroyo
Film speed is the way to measure the light sensitivity of film or digital imaging systems. This is measured using a numerical scale. The common modern scale is the ISO (International Organization for Standardization – I have no idea why it isn’t IOS, but I don’t make the rules). Film that requires less light during exposure is more sensitive to light and is considered fast film. Film that requires more light is less sensitive and is considered to be slow film. For both film and digital photography, when exposure is reduced because of the use of more sensitive film (or digital sensors) the image quality is reduced because courser image grain and more image noise is the by-product of a higher sensitivity.
To put this into the simplest terms: the higher the number of your ISO, the faster the film speed; the faster the film speed, the more grain/noise will appear in the image.
So why should I ever go higher than the lowest setting? In situations where there is very little available light (think dark restaurants, concert venues, etc.), using a higher ISO can allow for a correct exposure without necessarily having to change your shutter speed or your aperture (F-stop). Since there is little available light, the grain/noise that is created by the higher ISO is not visible.

That being said, if you were to use a high ISO in a location where there is a good amount of available light (think outdoors on a sunny day), you can still get a correct exposure, but the image will be incredibly grainy and have a lot of background noise. (If you have difficulty seeing the grain, click on the image below and you can zoom in further).
ISO was one the mistakes that I made most often while learning to use my DSLR in Manual (and one that I sometimes still make when I’m not paying attention). I think it was because the technicality of the concept initially just went straight over my head and it wasn’t until I understood the ‘theory’ of it that I actually learned how to use it. It was a mistake that was second only to figuring out how and why to change my aperture; a topic that I will cover next week. In the meantime, happy photographing!
– Hazel
Photos (1 and 2) © 2015 Hazel Arroyo
Photo (3) © 2015 Bryan Arroyo

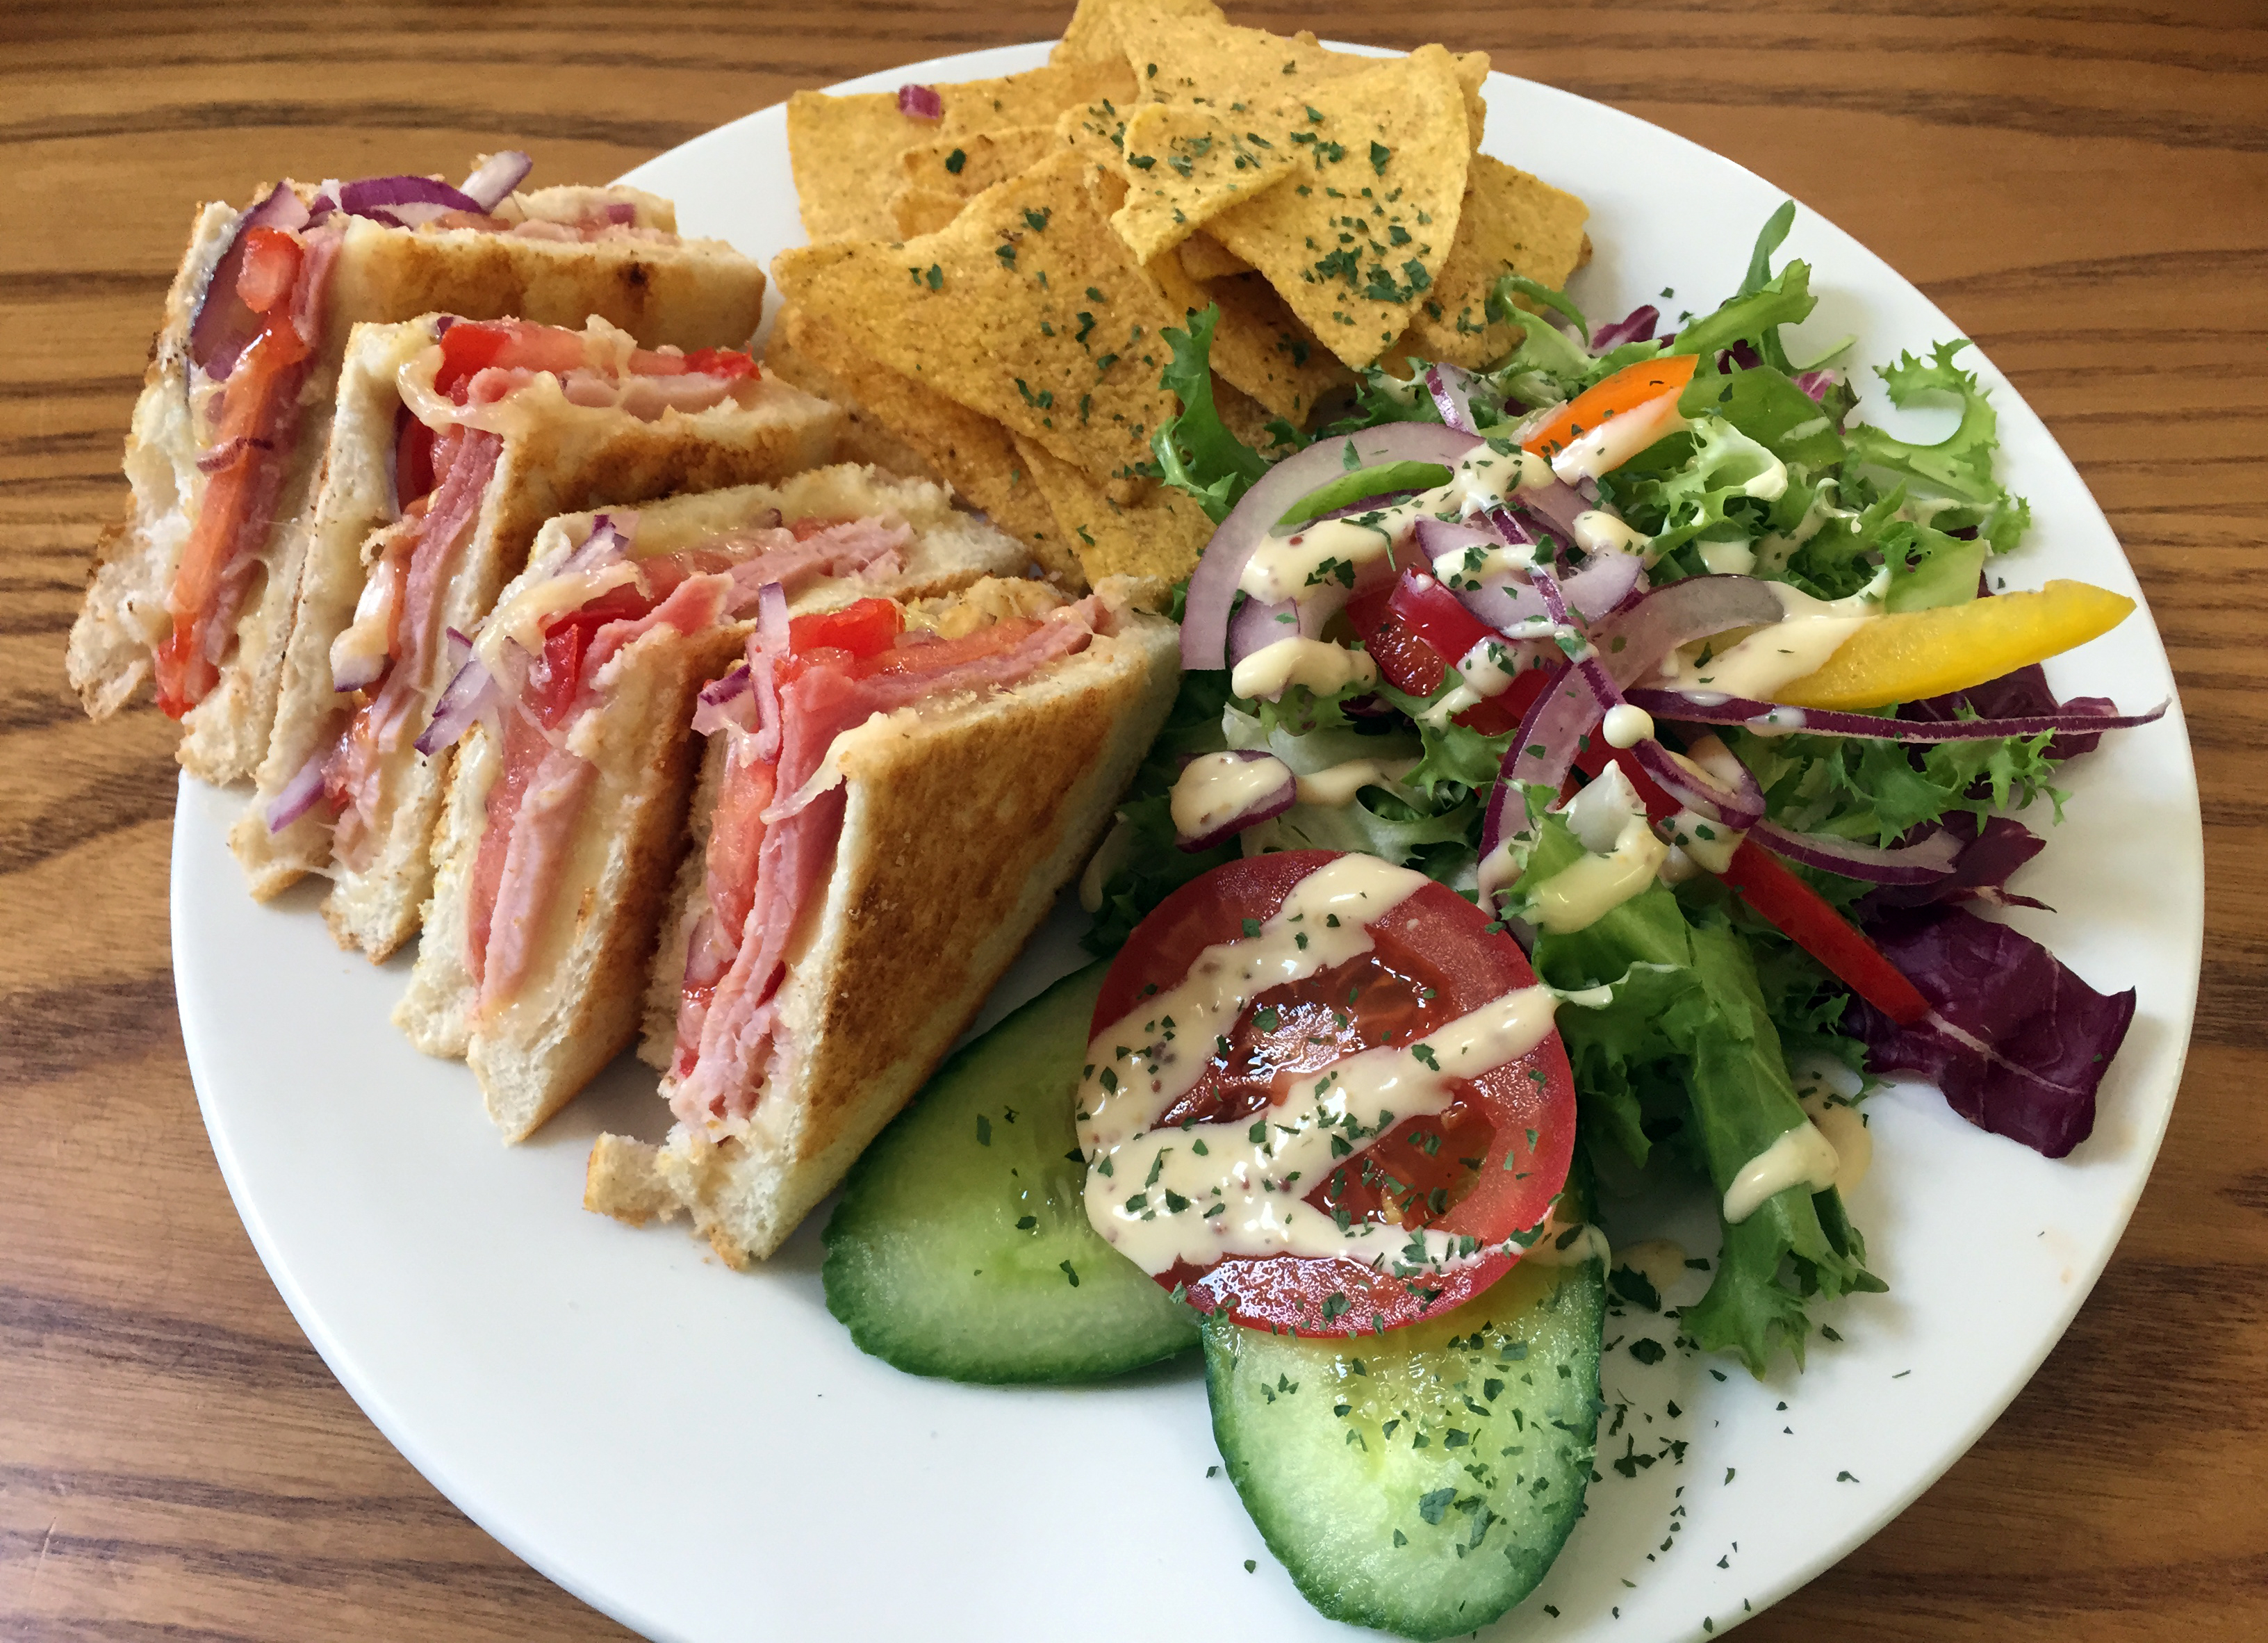
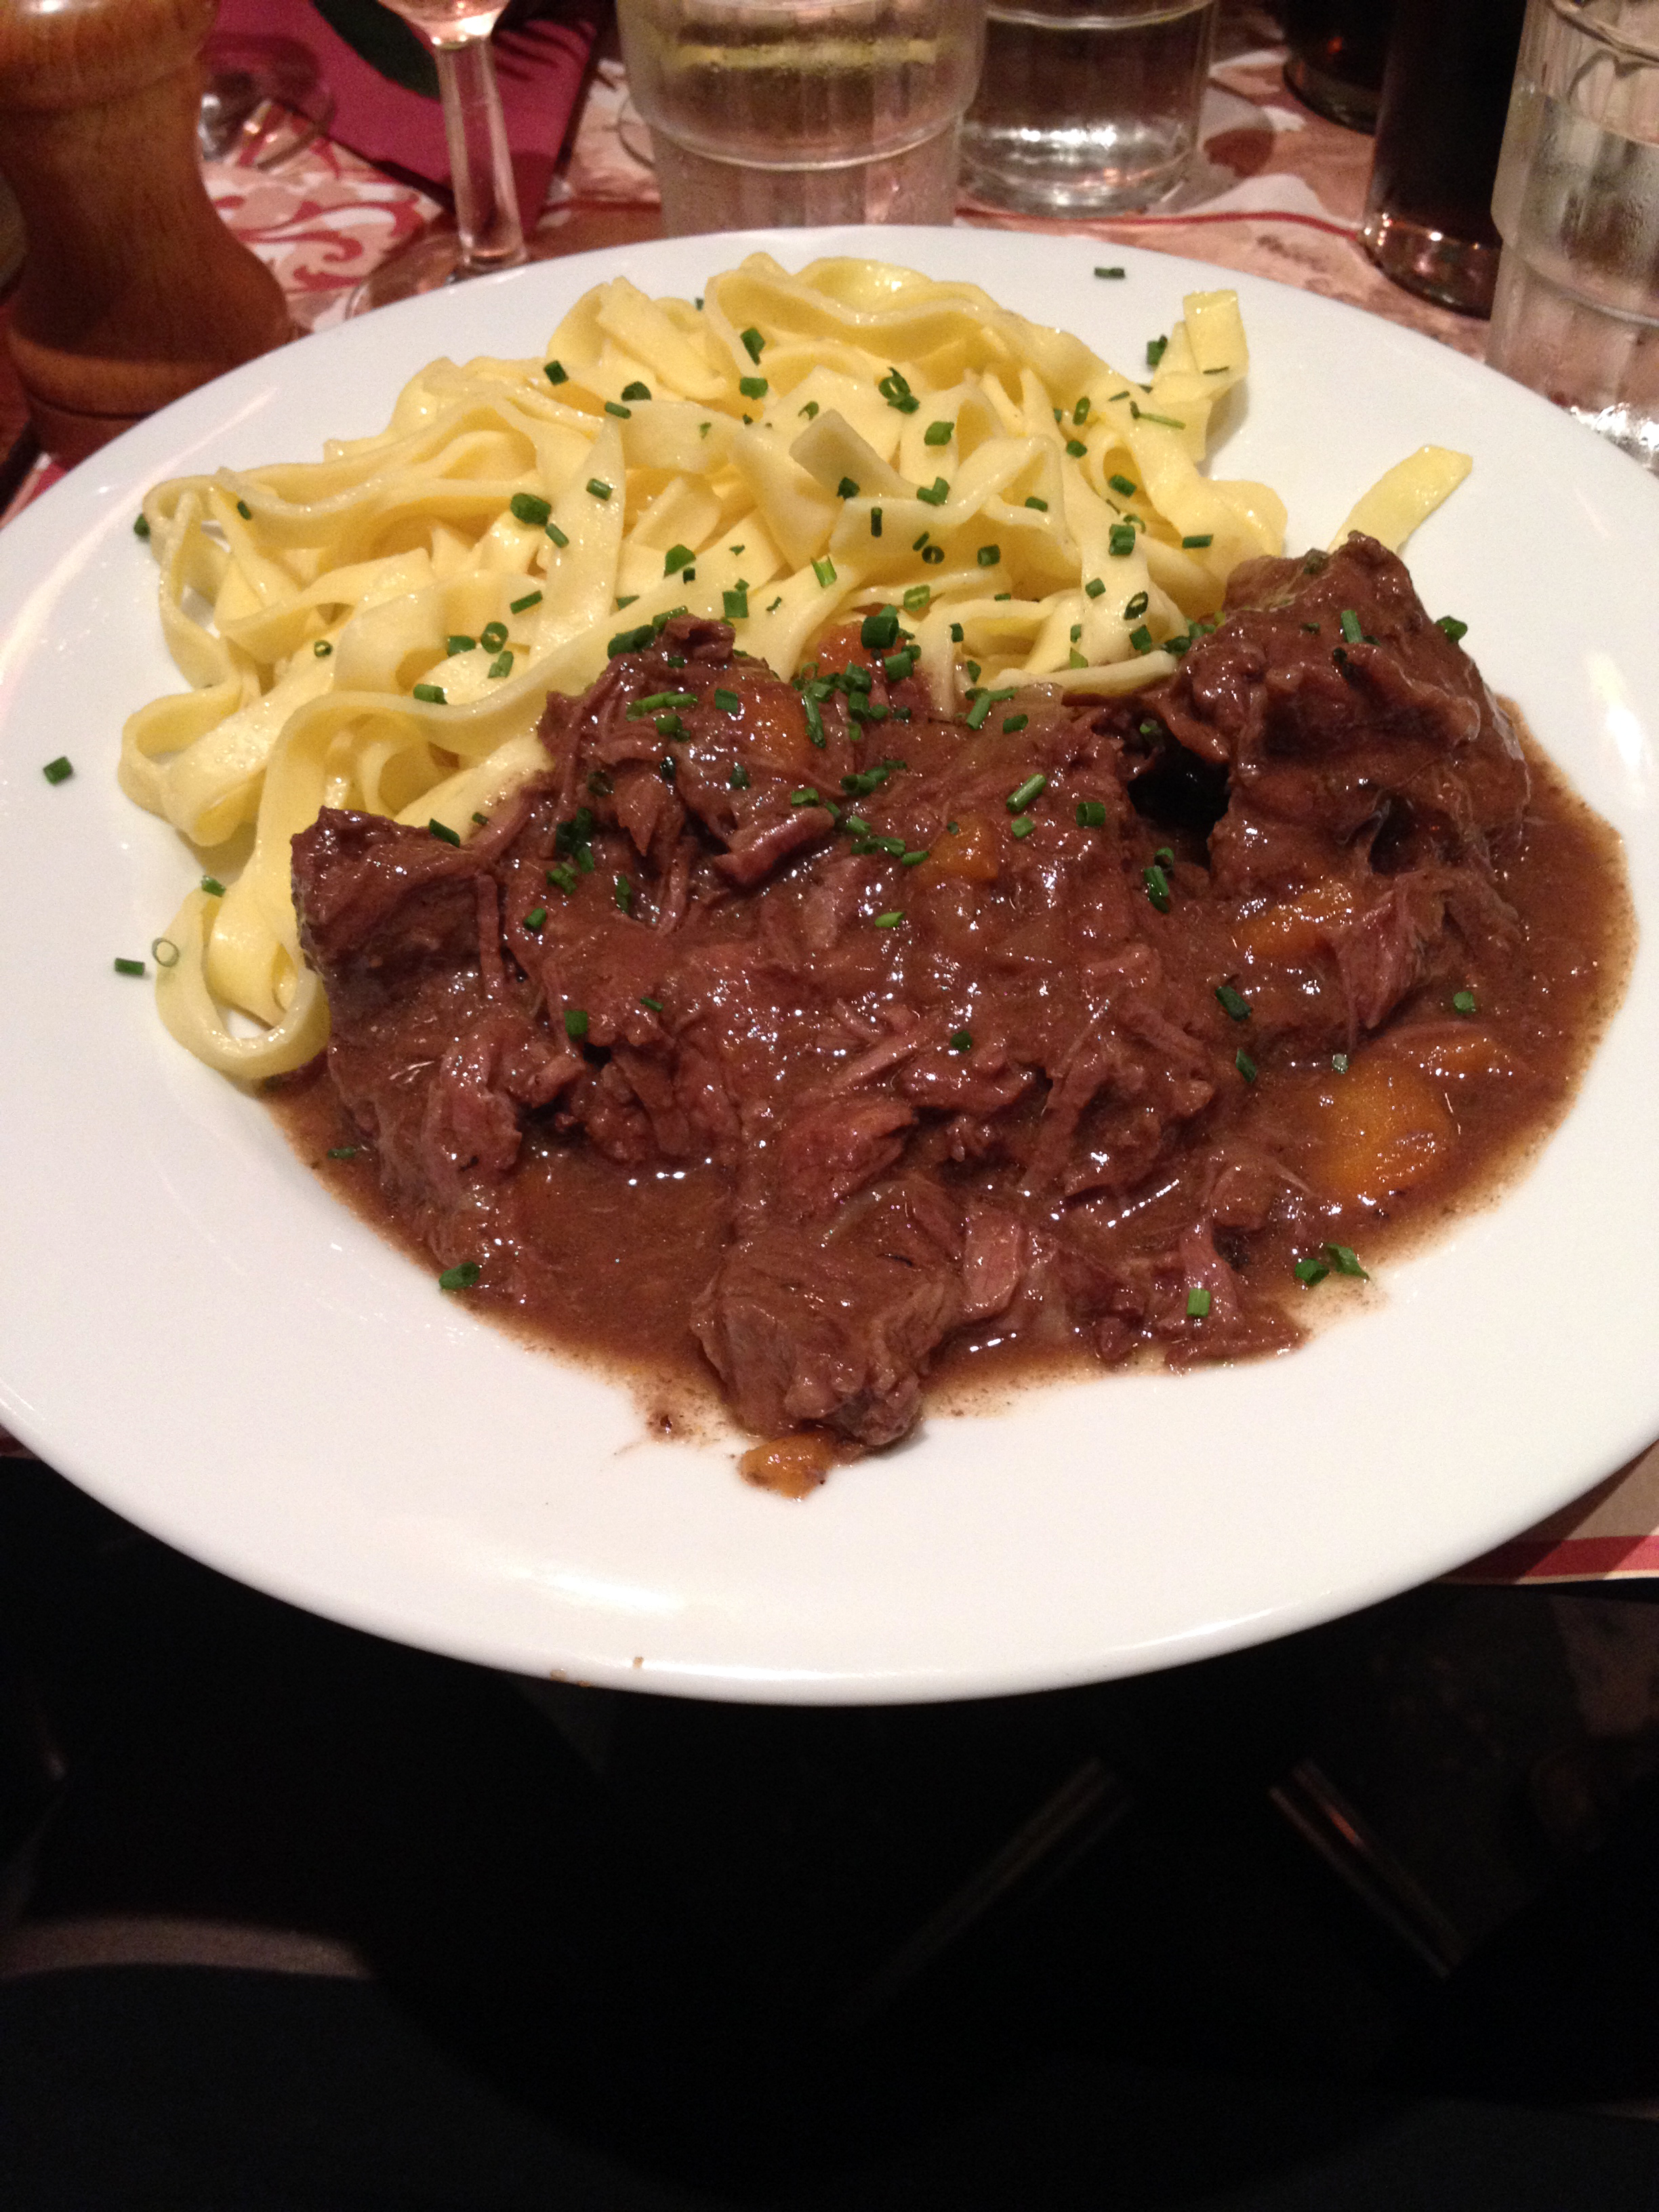
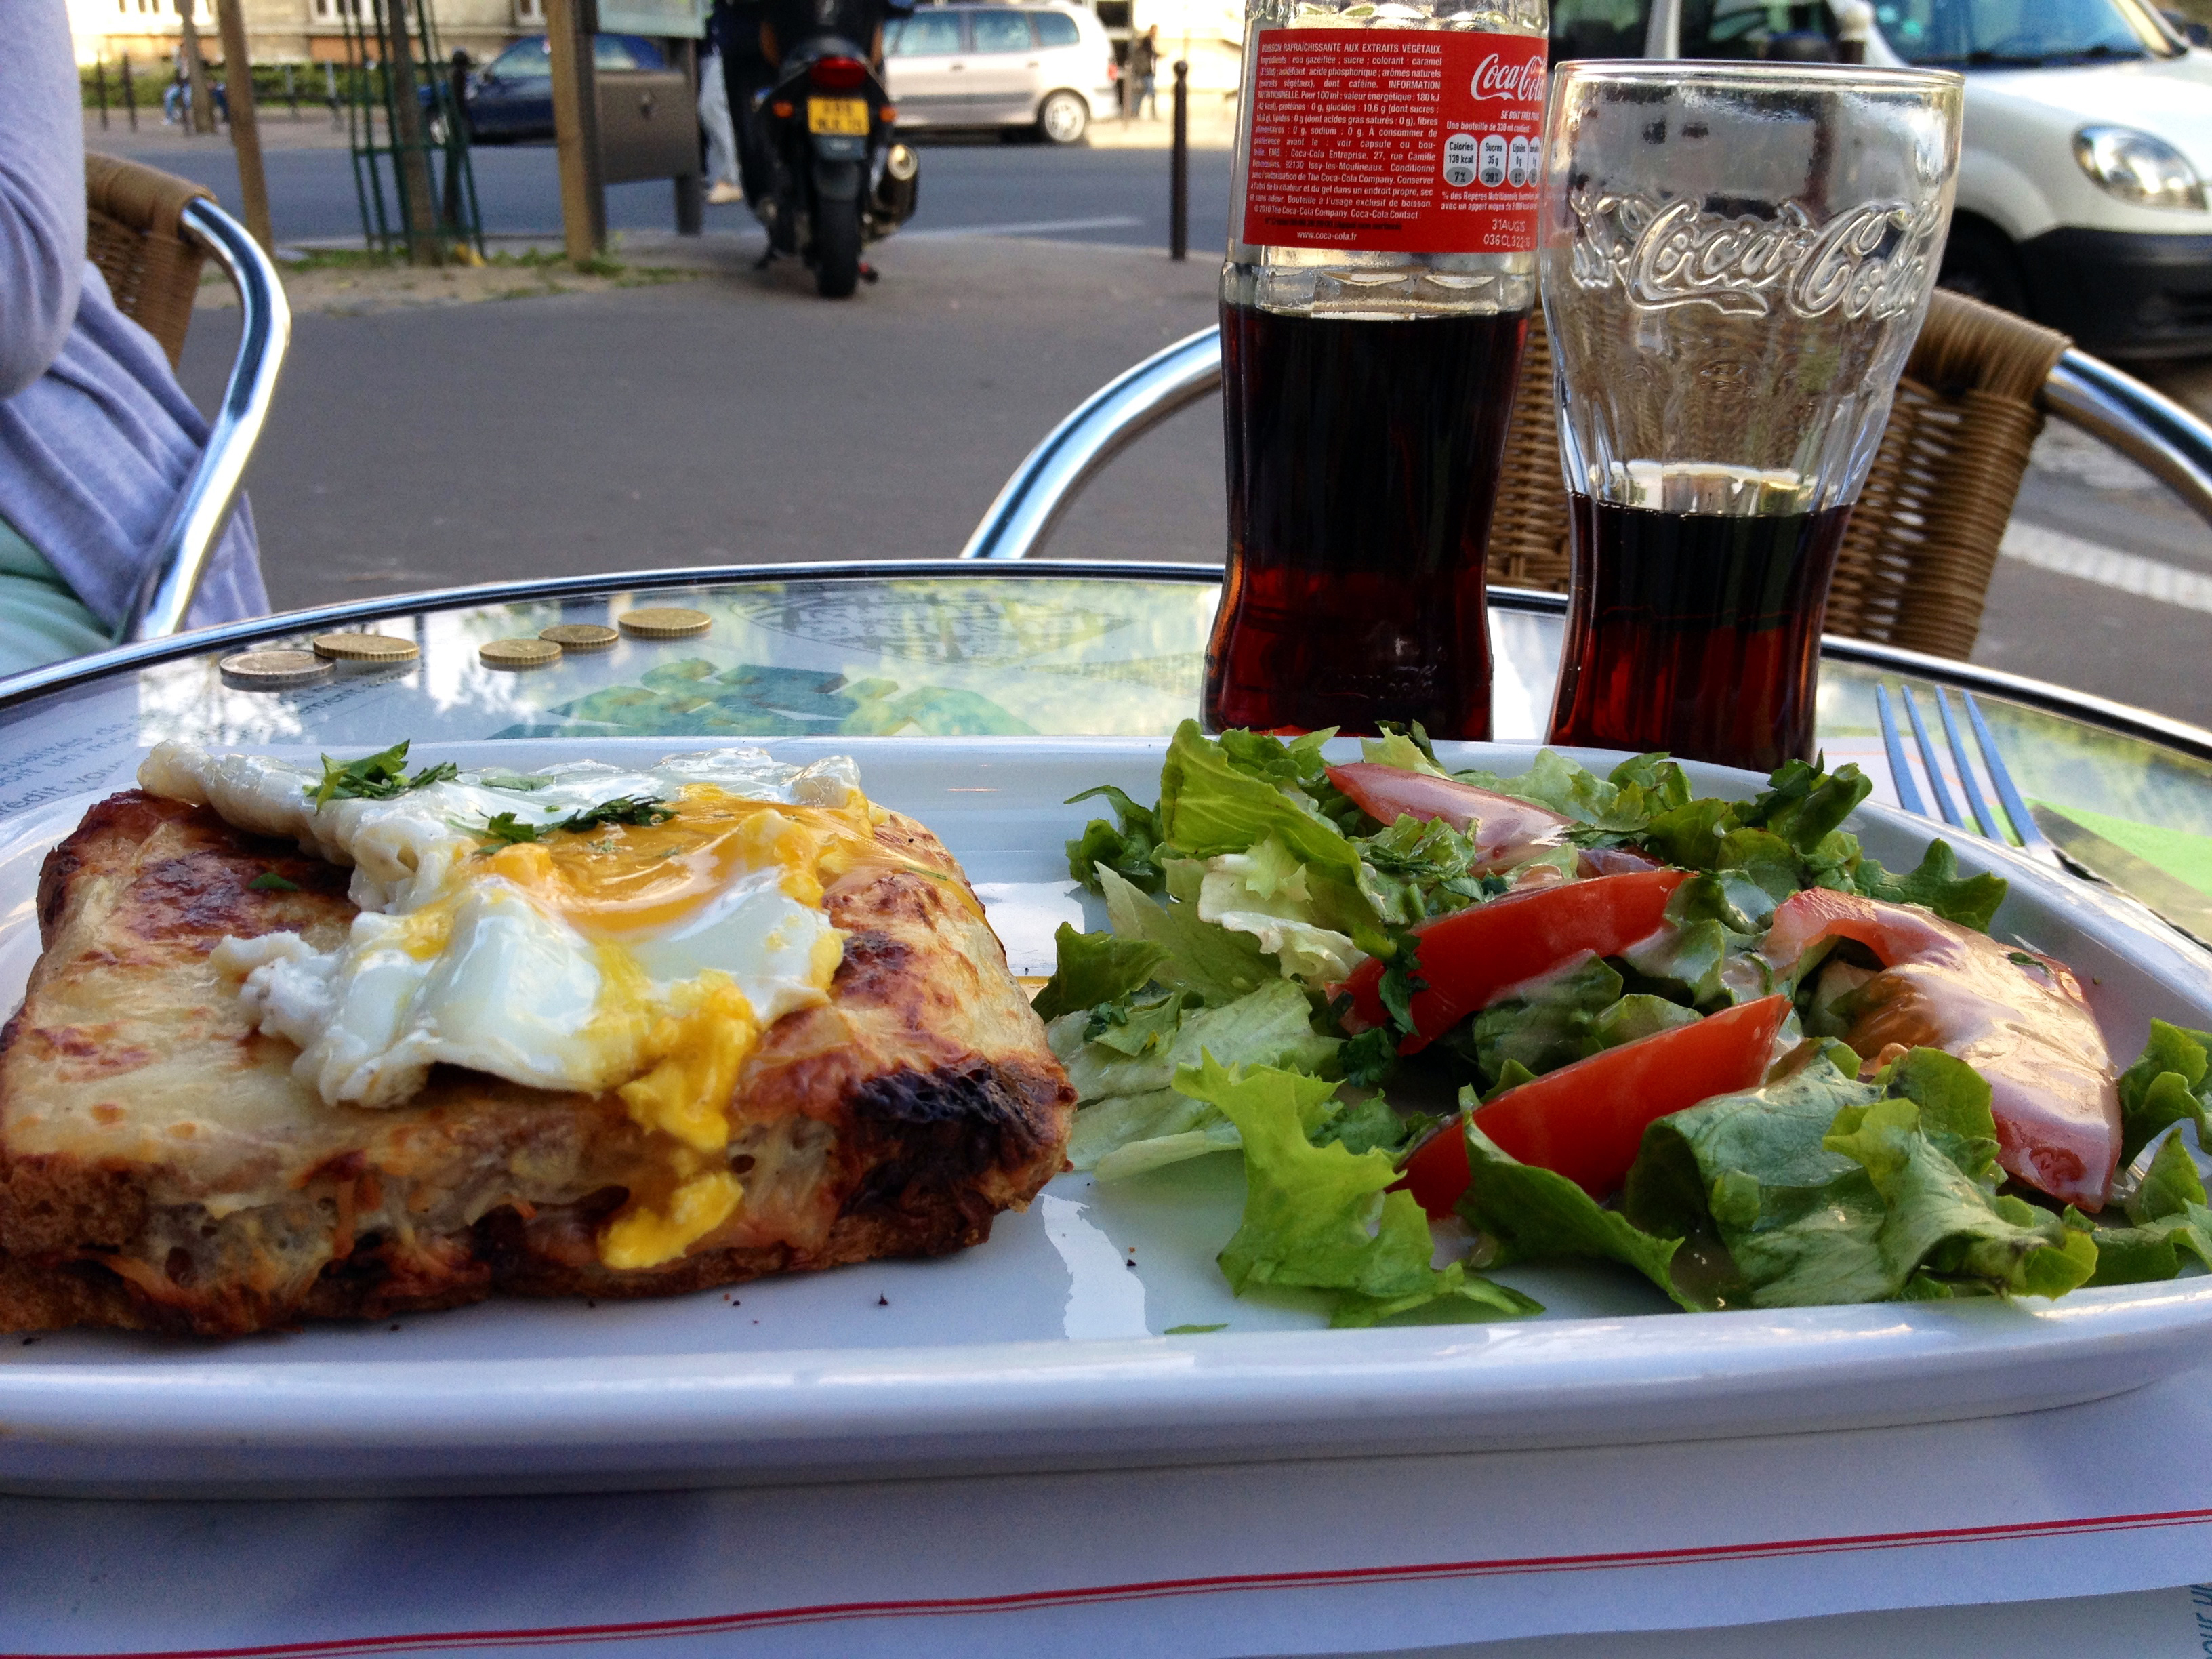
I’m sure you’ve seen those people. You know who I’m talking about. Those people who seem to have an errant need to photograph every waking moment of every single day with their smartphones. You may have noticed that this need has extended itself to meal time. While some people may scoff at how vain people can be, to the point where they photograph their food instead of eating it, I see it differently. While having adventures abroad, I found that taking pictures of my food was a ritual which has been a blessing in disguise. By taking images of the enticing and occasionally strange foods I’ve eaten, I inadvertently created a reference point in time for myself. Whenever I look back on an image of a meal that I had, not only am I able to recollect the amazing flavors that I was tasting at the time, but I am also able to remember the amazing company that I had, as well as the fond memories that I now share with those people. It is because of this that I am able to look at a plate of bangers and mash and smile with fondness and regard for an amazing set of people that I would have never otherwise met.


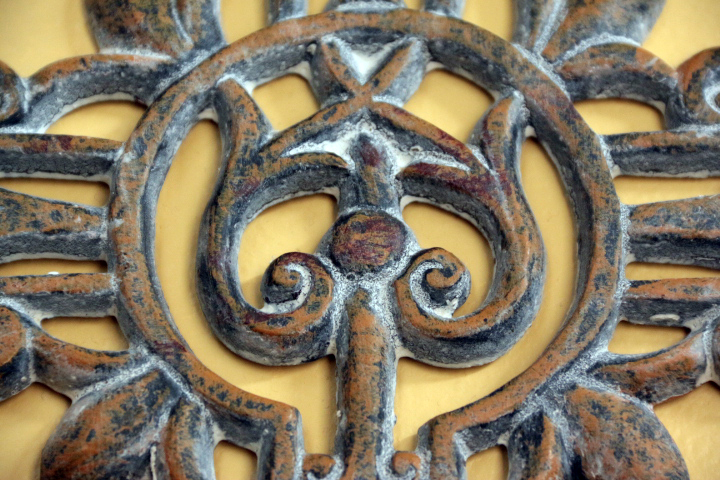
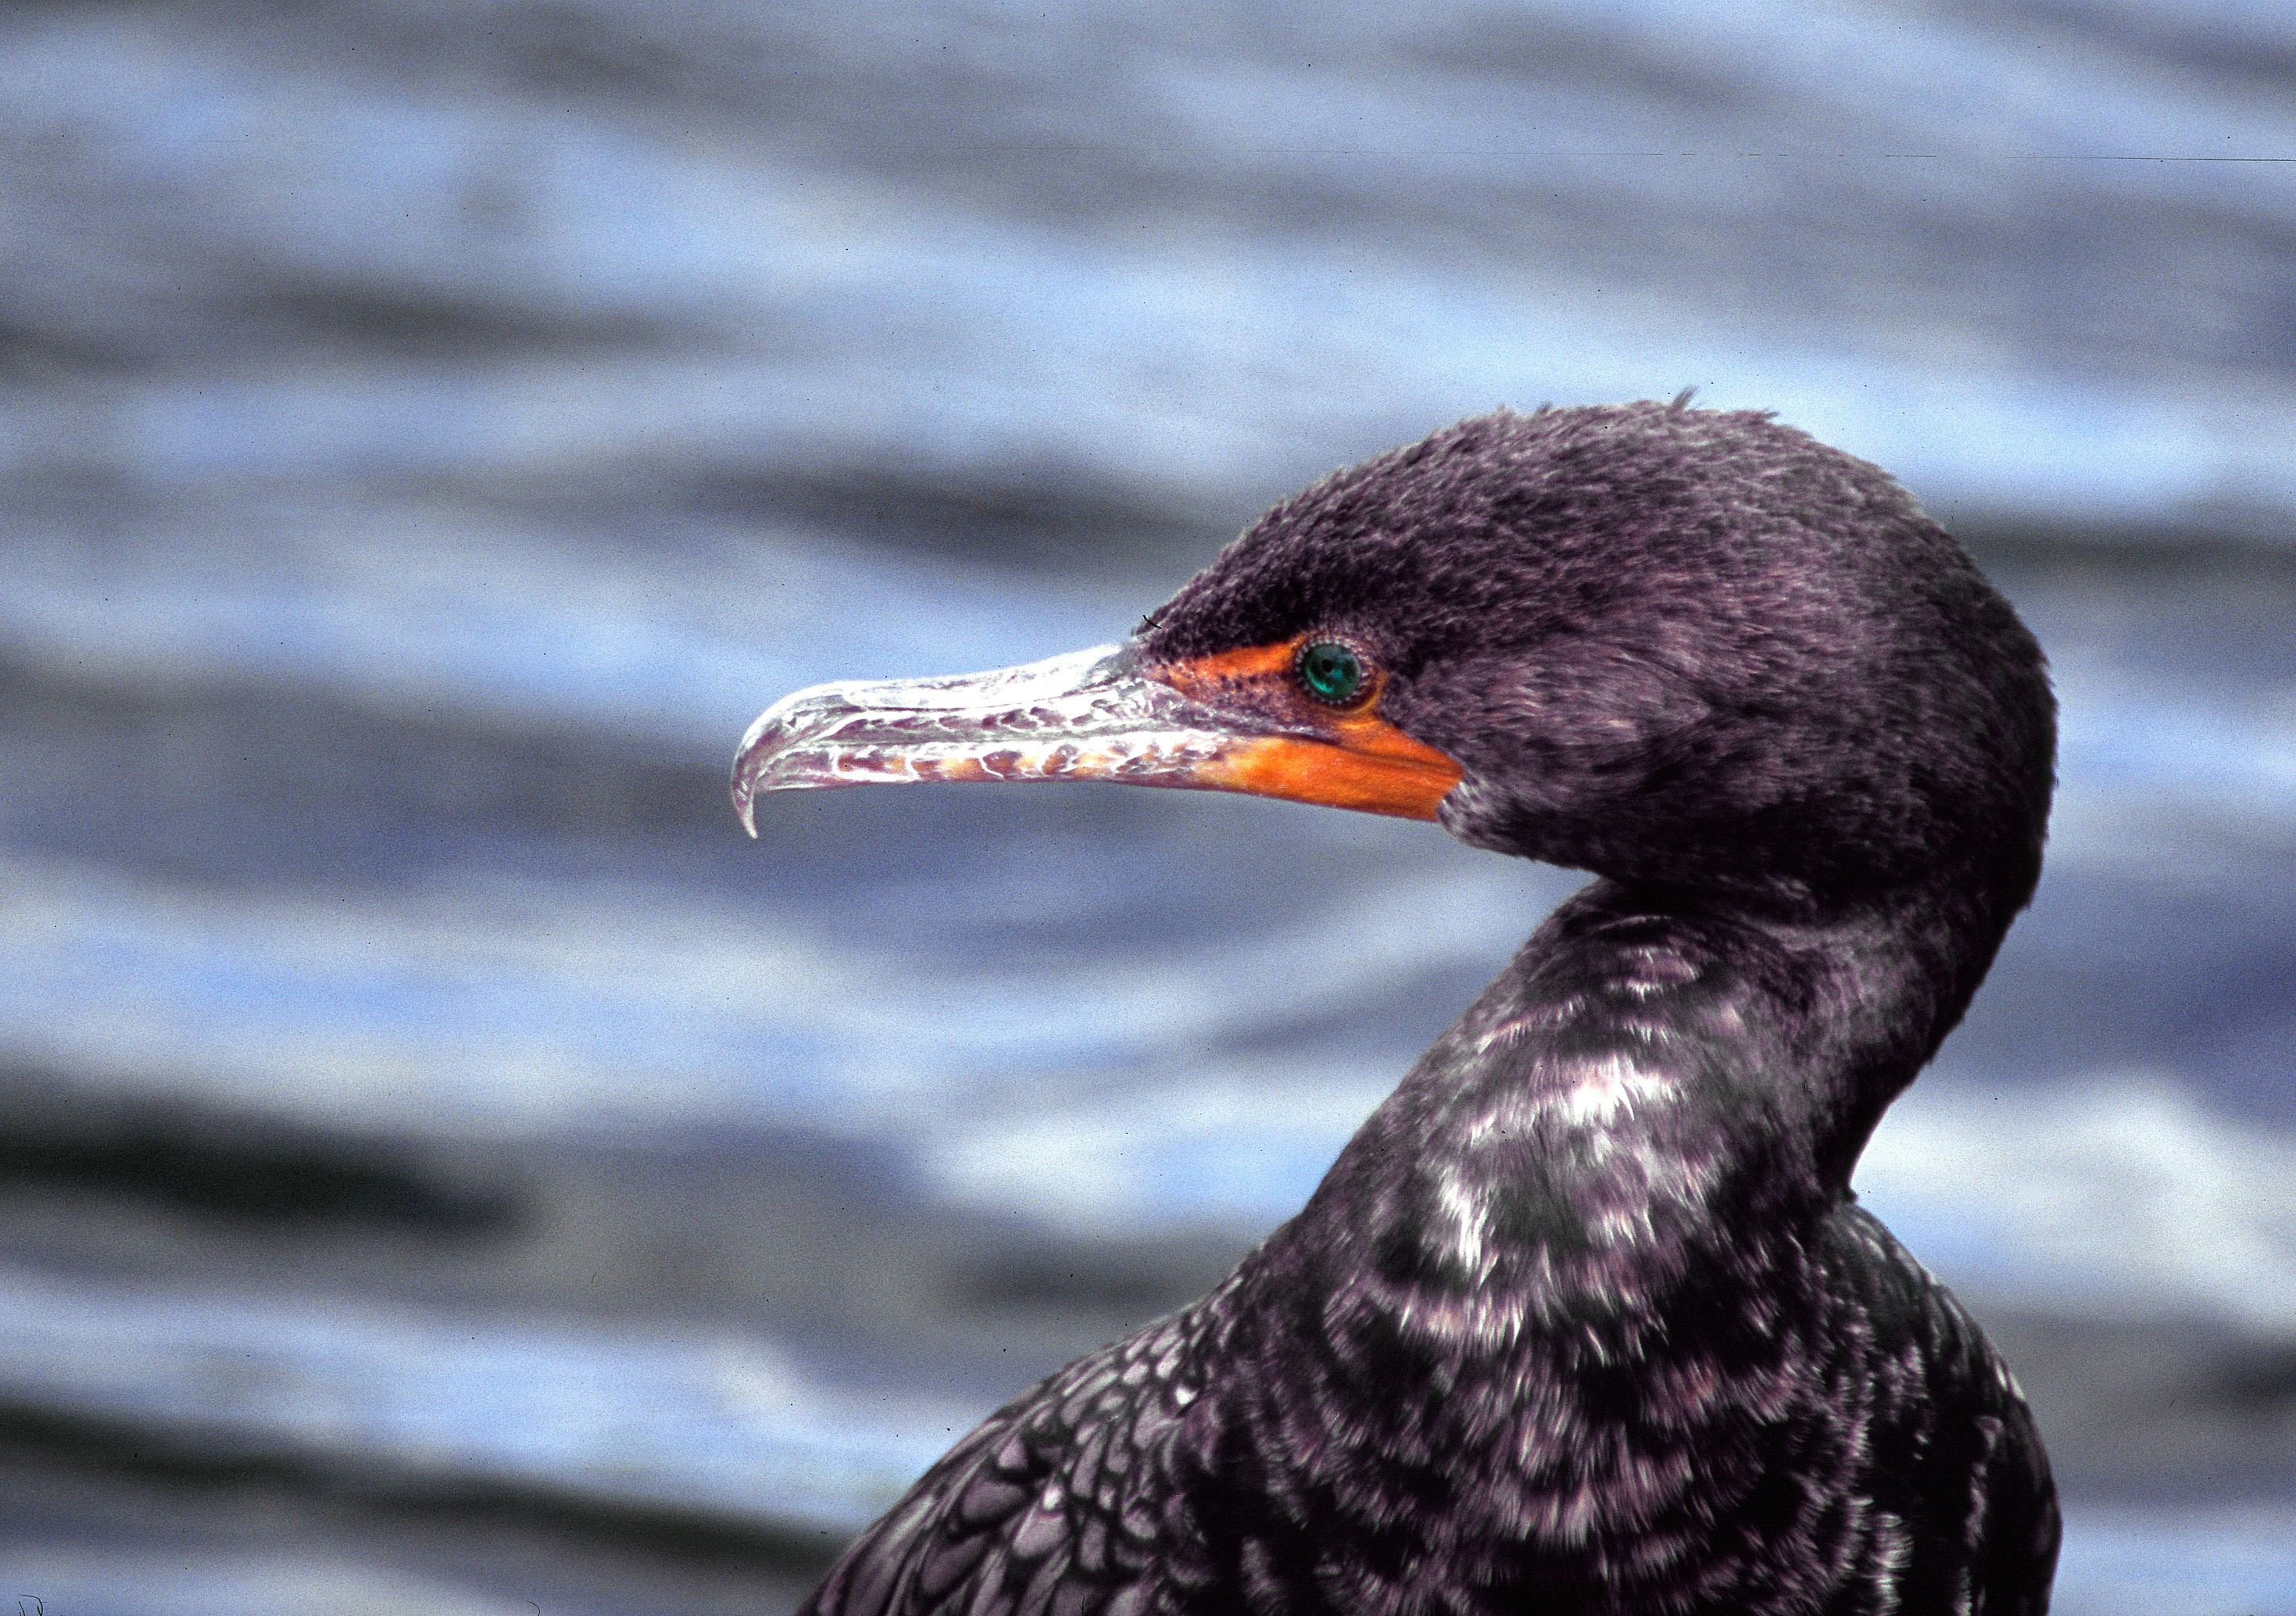
The rule of thirds is an element of design that is commonly referenced in the scope of photography. This rule is based off of using a grid (whether mental or on the display of a camera) in order to place the objects of interest in a photograph within either parameters of the grid or on the lines of the grid. Using the rule of thirds grid, an image is separated into three equal parts both vertically and horizontally. The intended subject of the photograph is subsequently placed either on one of the lines of the grid or within a column or row that is formed by the grid lines. By doing so, the eye of the viewer is drawn towards whichever element has been placed within the parameters of the grid. Below I have compiled a variety of examples of the rule of thirds being used. To emphasize this element of design, I have included the grid on the images.
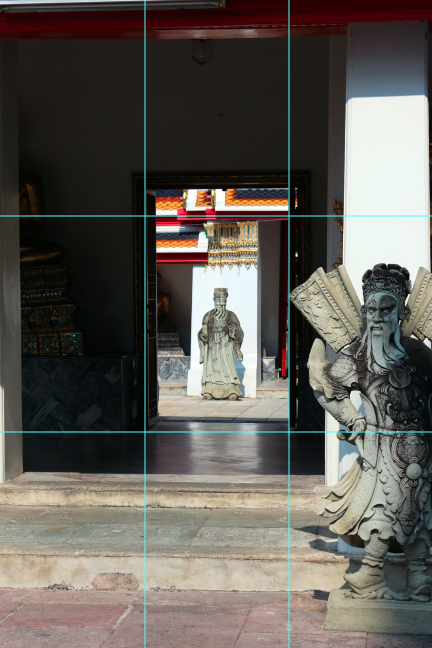

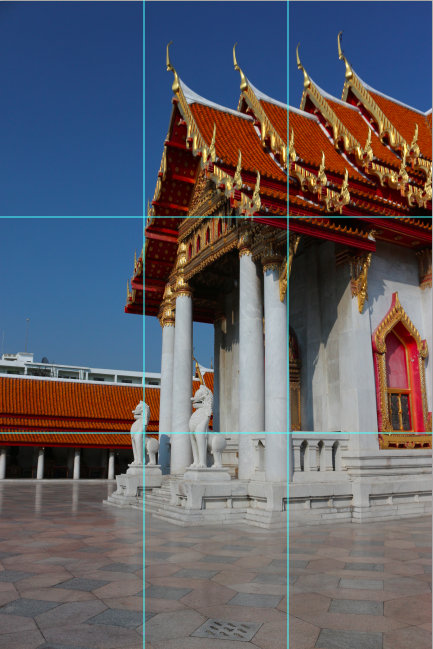 I’m sure that you can see a recurring theme here. While it doesn’t have to stick to the grid precisely, the general point of the rule of thirds is to have an asymmetrical balance to the photograph. The rule can be used to draw attention to a subject or element that the photographer wants to highlight.